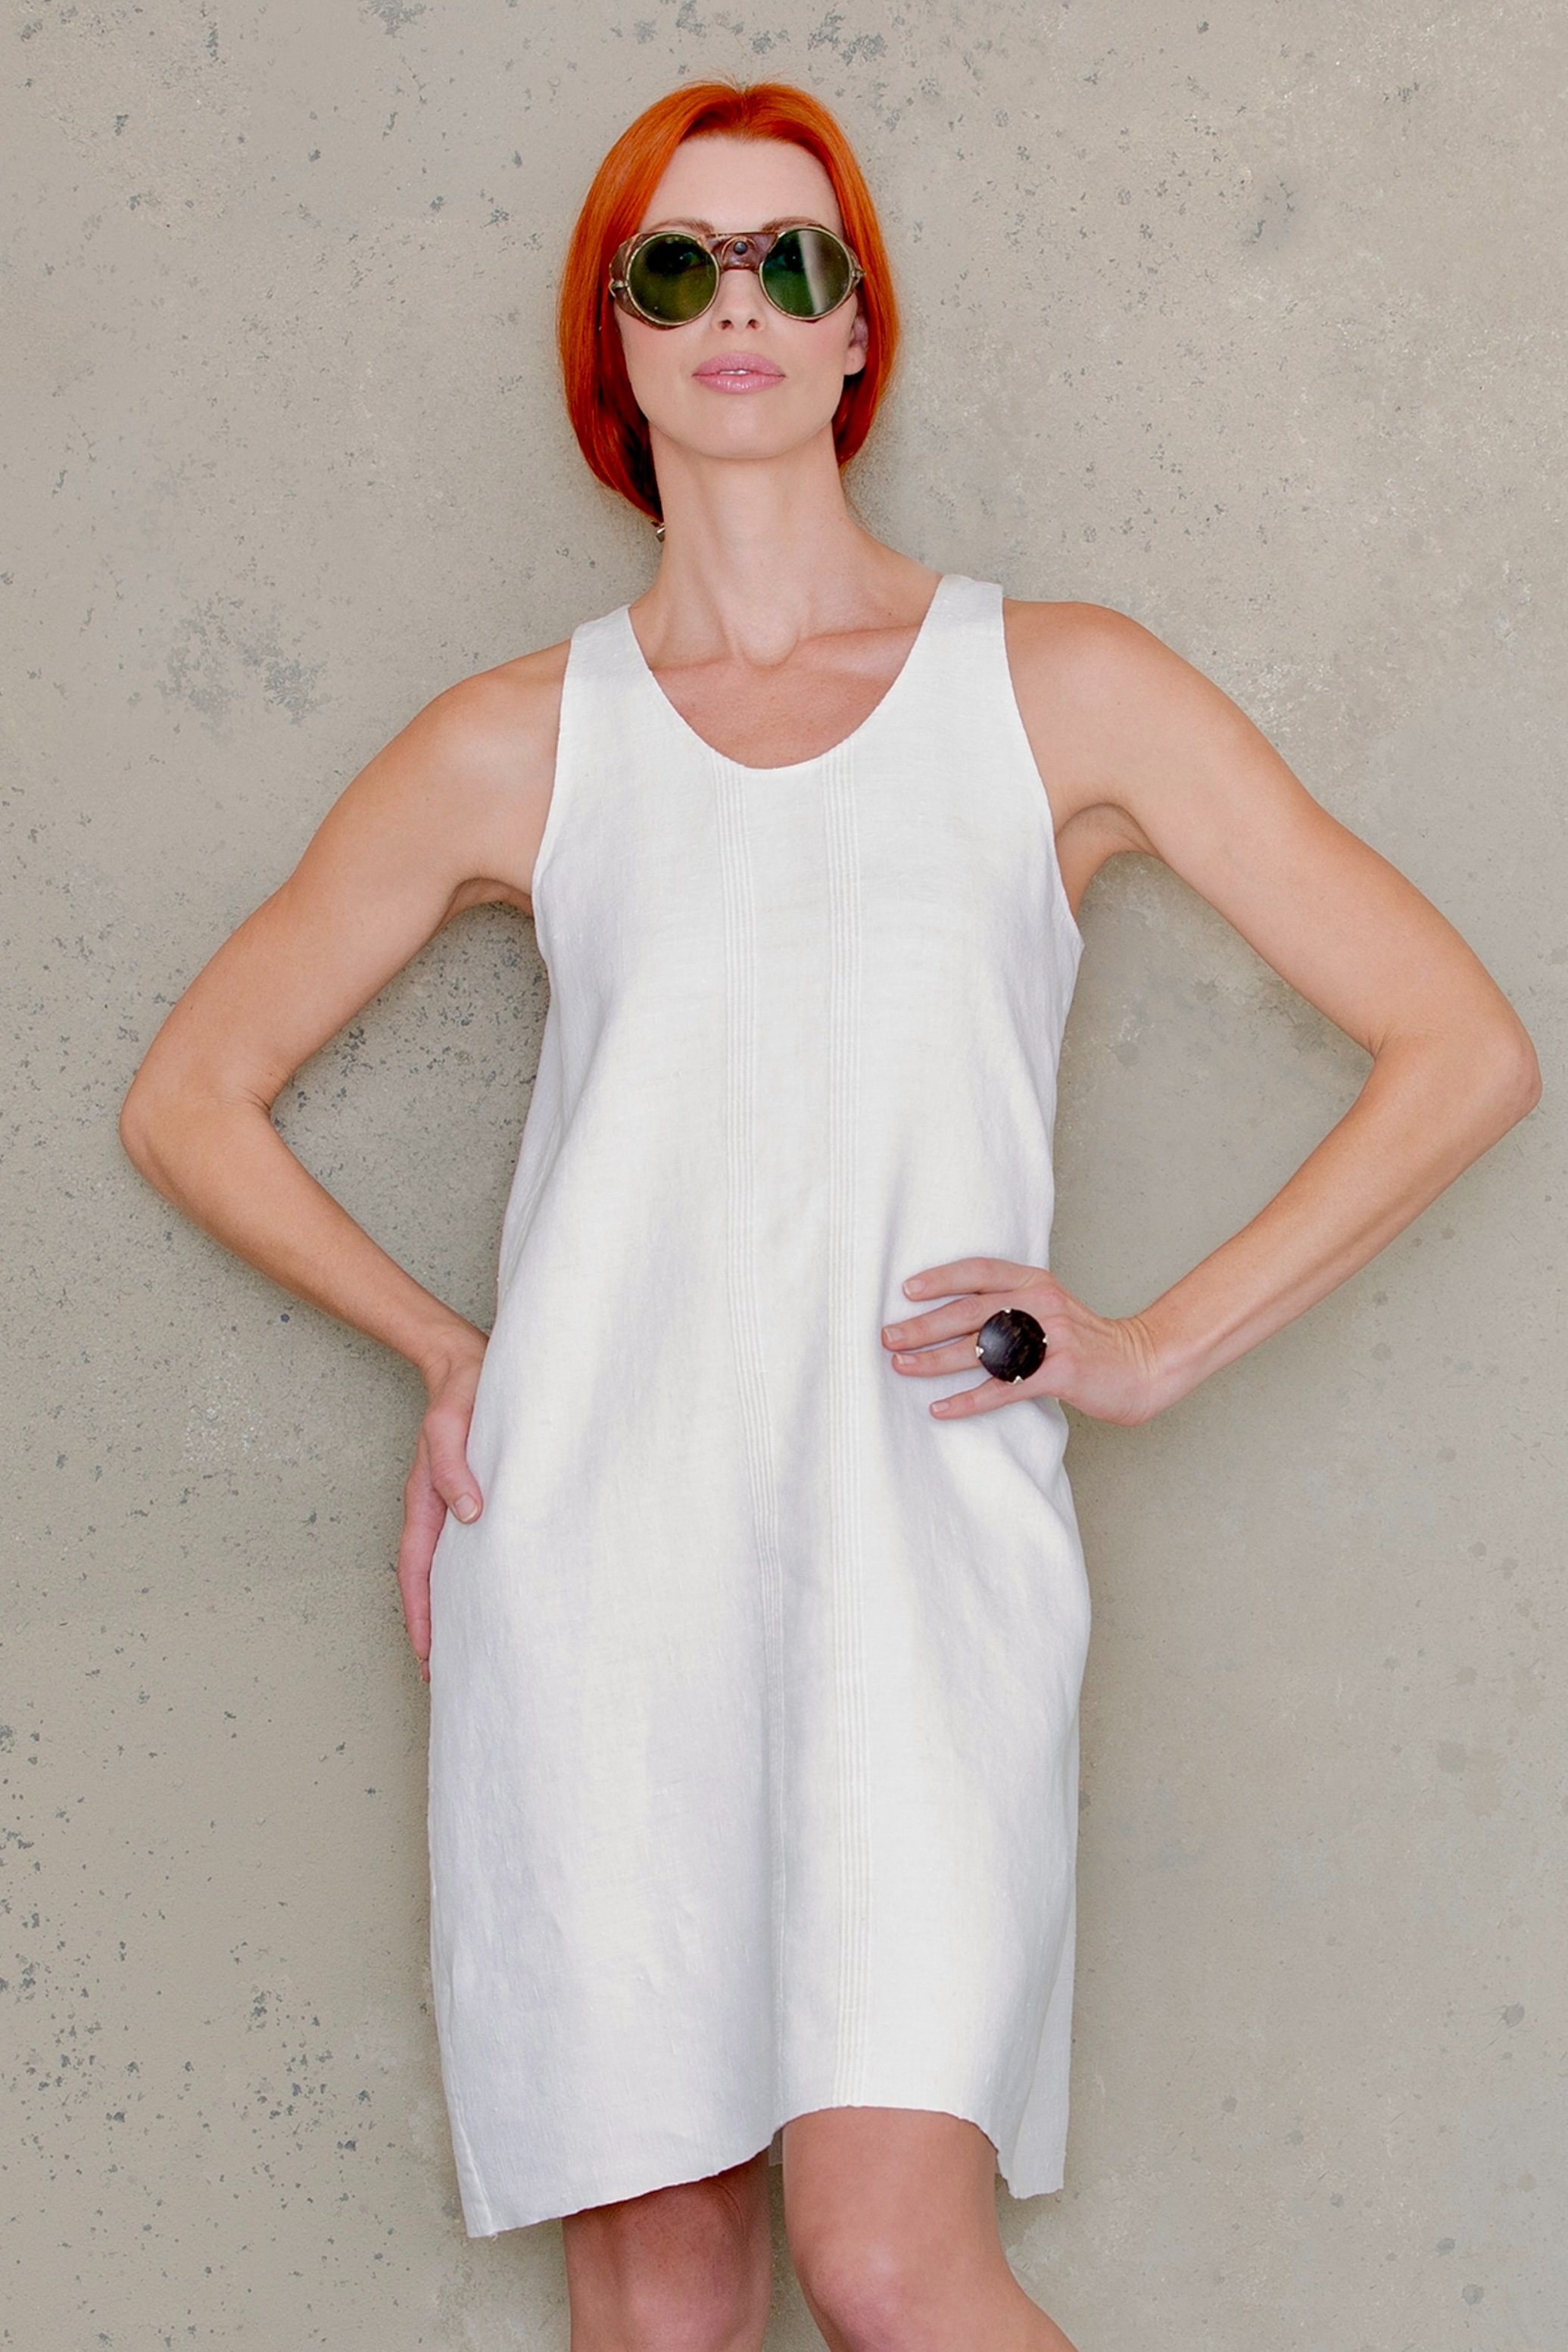
Ann Normandy Slip Dress Sewing Pattern Sew-Along Part Two
Welcome to the second installment of the Ann Normandy Slip Dress sewing pattern sew along video, hosted by my friend and sewist Ann Siegle. In the Slip Dress Sew-Along Part Two, Ann will show you how to construct the neckline and armscye.

Ann Normandy Slip Dress Sewing Pattern Sew-Along Part One
As well as effectively press around the neckline and armscyes of the Slip Dress to create a beautifully finished edge.
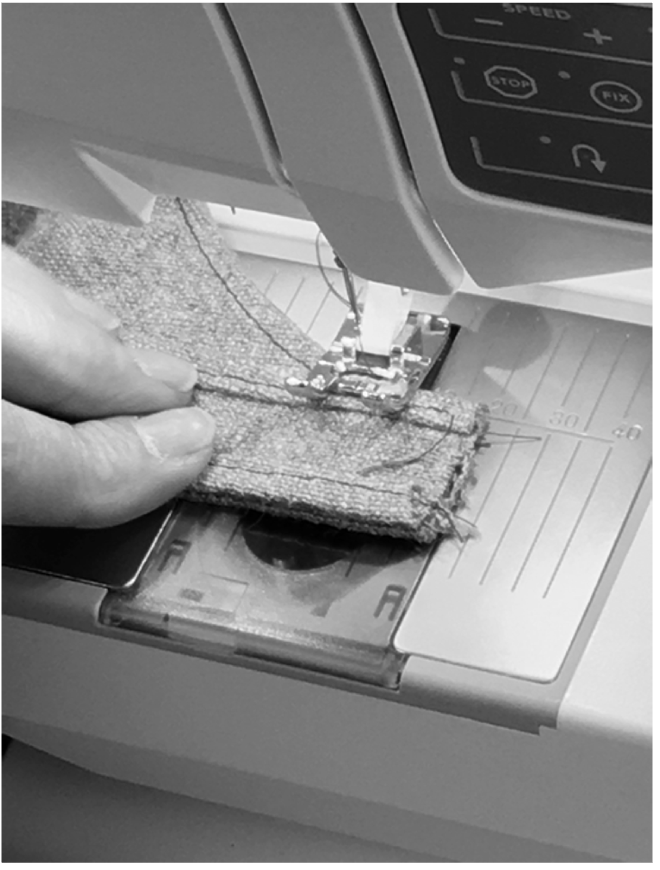
Step 1: Setting up your machine for staystitching:
The first step in this process is to set up your sewing machine for staystitching. Use the markings on your sewing machine foot to measure one-eighth of an inch away from the cut edge on the neckline and armhole seams. This will ensure that your staystitching is straight and even.

Step 2: Staystitching the neckline:
To maintain the curve of the neckline and armholes before sewing them together, carefully stay stitch 1/8” (.32 cm) on the front and back.
Place the cut edge just in place and run the toe of the foot along the outer edge. Drive the fabric around the curves with your left hand and avoid stretching it with your right hand. This will help to prevent puckering and distortion of the fabric. Once the stitching is done, it's time to move on to pressing.
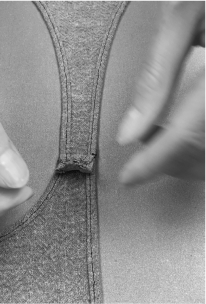
Step 3: Pressing the Neckline and Armscyes:
Fold and press 1/8”(.32cm) of the raw edge of the neckline toward the inside of the garment, using the 1/8” (.32 cm) stay stitch as the guide. Press. Remember to always maintain the curve and shape. Let the press cool and dry.

Fold the fabric again another 1/8” with your fingers, use pins or baste in place, if necessary, and then press around the edges. Let the pressed area cool.

Taking the time to press properly will give all stitched seams a crisp and professional finish.
Learn more about pressing while sewing
with our Pressing Tutorial
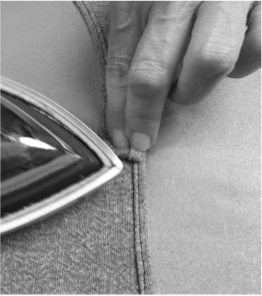
Repeat the same process for the armscyes as well. Pressing is done before stitching the shoulders, which will be flat-felt at three-quarters of an inch. This will help to ensure that your armholes are smooth and even.
Step 5: Edge Stitch
With the wrong side up, slowly, and carefully edge stitch 1/8” (.32 cm) around the armholes and necklines, using small stitches. Press on right side and let cool. Note: The bottom of the front neckline curve is the focal point. When edge stitching center front curve of the neckline, slowly continue stitching around without lifting the presser foot. Do not attempt to stitch a “V” point.


Step 6: Sewing the Shoulder Seams:
Right sides together, using a ¾” (1.90 cm) seam allowance sew seams together. Make sure hem edges are even and underarm seams are lined up. Turn right side out and press both sides of seam allowance apart and then toward the front. Let pressed area cool to set the press.


Trim front seam to ¼” (.64 cm).
Fold top seam allowance over and under ¼” (.64 cm) trimmed seam.
Press securely in place and cool.

Edge stitch along fold. Press seam and cool.